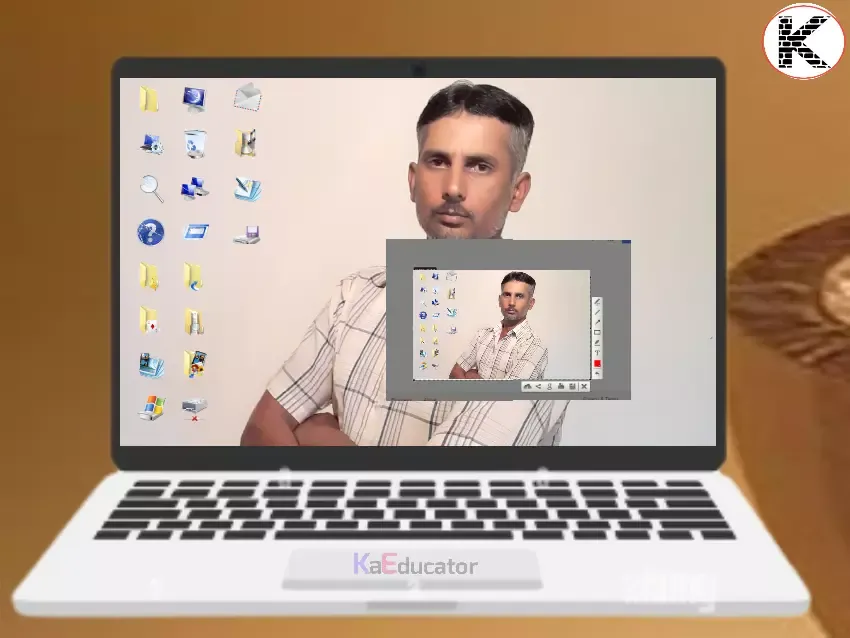
How to take a screenshots in Windows
Even if you know perfectly well how screenshots are taken, I'm almost sure that in this article you will find some new ways for you to take a screenshot in Windows 10, and without using third-party programs: only the tools offered by Microsoft.
For complete beginners, a screenshot of the screen or its area can be useful if you need to demonstrate something depicted on it to someone. It is an image (snapshot) that you can save on your disk, send by e-mail, share on social networks, use in documents, etc.
Keyboard Print Screen key
The first way to take a screenshot of a desktop or program window in Windows 10 is to use the Print Screen key, which on a computer or laptop keyboard is usually located in the upper right part and may have an abbreviated signature, for example, PrtScn.
When you press it, a screenshot of the entire screen is placed on the clipboard (i.e., in memory), which you can then paste using the standard key combination Ctrl + V (or the menu of any program Edit - Paste) into a Word document, as an image in graphic editor Paint for later saving the picture and almost any other program that supports working with images.
If you use the key combination Alt + Print Screen , then a snapshot of not the entire screen, but only the active program window will be placed on the clipboard.
And the last option: if you don’t want to deal with the clipboard, but want to take a screenshot immediately as an image, then in Windows 10 you can use the key combination Win (OS logo key) + Print Screen. After clicking it, the screenshot will be immediately saved to the Images folder - Screenshots. You can change the default folder where screenshots are saved .
There are new way to take screenshots in Windows 10
One of the Windows 10 updates introduced an additional way to take a screenshot - the keyboard shortcut Win + Shift + S. When you press these keys, the screen is shaded, the mouse pointer changes to a "cross" and with it, while holding the left mouse button, you can select any rectangular area of your computer screen there you want to take a screenshot of.
And in the latest versions of Windows 10, this method has been updated even more and is now a Snip and Sketch tool that allows you to create screenshots of an arbitrary area of \u200b\u200bthe screen and perform simple editing. Read more about this method in the instructions: How to use a screen snippet to take screenshots in Windows 10.
After the mouse button is released, the selected area of the screen is placed on the clipboard and can be pasted in a graphics editor or into a document.
Screenshot tool "Scissors"
Windows 10 has a standard Scissors program that allows you to easily take screenshots of areas of the screen including with a delay, edit them and save them in the desired format.
To launch the Scissors application, find it in the "All Programs" list, or easier - start typing the name of the application in the search.
After launch, the following options are available to you:
By clicking on the arrow in the "Create" item, you can choose what kind of picture you want to take - freeform, rectangle, full screen.
In the "Delay" item, you can set a delay for the screenshot for a few seconds.
After the snapshot is created, a window with this screenshot will open, on which you can add certain annotations with a pen and marker, erase any information and, of course, save (in the File-Save As menu) as an image file desired format (PNG, GIF, JPG).
Game bar Win + G
In Windows 10, pressing the Win + G key combination in full-screen programs opens the Game bar. Which allows you to record screen video, and also, if necessary, take a screenshot using the corresponding button on it or a key combination (default is Win + Alt + Print Screen).
If such a panel does not open for you, check the settings of the standard XBOX application, this function is controlled there, plus it may not work if your driver are not installed and video card is not supported for it.
In this article, we did not begin to point out the many third-party programs that also allow you to take screenshots and have advanced features (Snagit, Greenshot, Snippy, Jing, and many others). On the other hand, you can look at the software just mentioned without it (I tried to point out the best representatives).


